

Create a policy
1
Open the form
Click Add policy.
2
Choose a starting point
Under Start from a template, choose Employment contract — 20 days, Employment contract — 26 days, B2B — planned unavailability or Build your own. A template only fills in the form — you can change anything.
3
Name the policy and choose types
Enter the Policy name and select the absence types the policy covers. You need at least one type.
4
Set the allowance
Choose how the allowance is set (described below) and enter the number of days or hours for each pool.
5
Create
Click Create policy.
Allowance
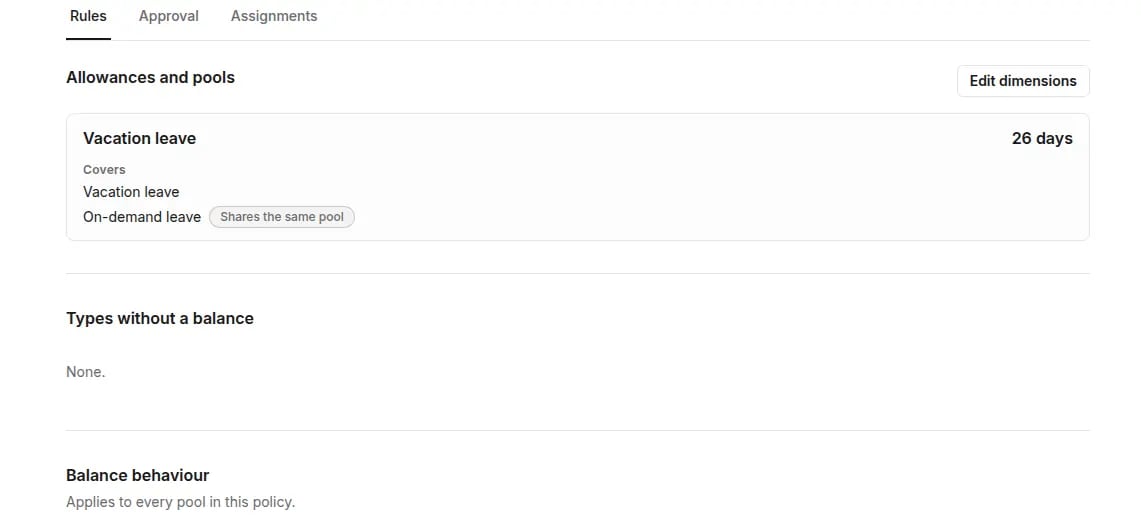
Balance may go below zero lets a request be approved even when the balance isn’t enough. It applies to every pool in the policy.
The Suggested for field (collaboration form) is only a hint when assigning. It doesn’t limit who you can assign the policy to.
The “Employment contract — 20 days” and “Employment contract — 26 days” templates follow Polish practice. They are not legal advice. Check the allowance that applies in your organization.
Approval in the policy
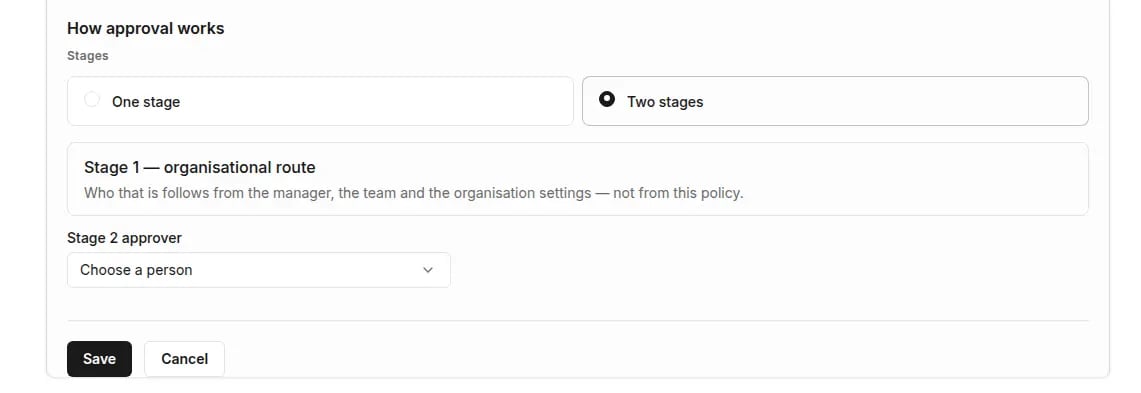
Open the policy and go to the Approval section. For each absence type you set:- Requires approval or Does not require approval,
- One stage or Two stages.
Assign the policy to people
1
Open assignments
Open the policy and go to the Assignments section.
2
Choose people
Click Assign people and select people. You can assign a policy to at most 1000 people at a time.
3
Review the preview and confirm
The preview shows who will receive the policy and whose current policy will change. Click Assign.
Incomplete policy
A policy marked Incomplete configuration covers no absence type, or its pool states no allowance. People it covers can’t file the corresponding requests until you complete it.Archive or delete a policy
In the More actions menu, choose:- Archive — the policy disappears from the active list; history is kept. You can restore it later. Move the people it covers to another policy first.
- Delete policy — only possible if the policy was never used. Otherwise, archive it.